One of the things that readily happens on S2000s when taking long right hand sweepers on grippy tires is for oil to get sucked through the PVC into the intake manifold as the oil rides up the side of the head due to the G forces. The solution is to install an oil catch can in between. On
Bumblestook, I went through 4 iterations of catch cans starting with a DIY version made from an air/oil separator for compressors from Lowes. I then went for both the single and dual versions of the
Saikou Michi catch can and finally the custom catch can that automatically drains into the oil pan made for me by
Evans Tuning. The custom catch can for Bumblestook as it's designed isn't legal for STR so the Saikou Michi was my most logical choice. Unfortunately from experience, I've found that the biggest downside with the Saikou Michi (in its default configuration) is that it's difficult to drain in a rush. You have to take the bolt out, pull the catch can away from the battery, drain it, then put it back in. Under normal circumstances this isn't a big deal but during an event with a co-driver and you're rushing to clear the can in grid, there had to be a better solution that involved no tools and no burnt hands!
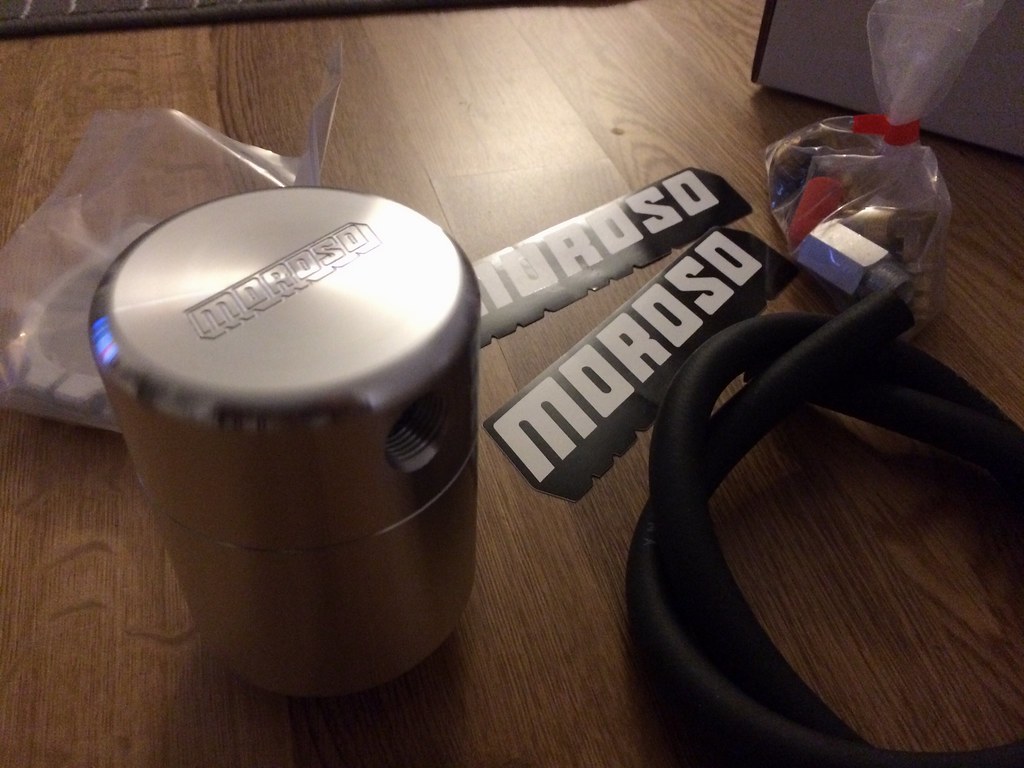 |
| Moroso Universal Air/Oil Separator - Part #85474 - 7/2/2015 |
Enter the Moroso universal air/oil separator. I know people who have run the Moroso catch can successfully on the S2000. It's a really nice, well built unit that has been proven to be very effective. The problem is that the only ones I've seen this run on are the 06+ S2000s since they are drive by wire and don't have the cruise control module in the engine bay...a perfect place to put this catch can. I was determined to not let this stop me from using one. I remembered that on my DIY catch can, I mounted it onto the bolts holding the radiator fan and thought I'd give it a try. Sure enough it fit very nicely in that spot. Well, it almost does, you can only put in one of the two bolts for the bracket but because of the way the fan is made, if you bolt it up to the driver side, the other part of the bracket rests nicely on the fan shroud so it's going nowhere.
 |
| Moroso catch can installed - 7/2/2015 |
It came with 3/8" fuel hose but it was only long enough to go to valve cover on one side so I went to Autozone to pick up more 3/8" fuel hose and they just had enough left to get the other side of the catch can to the intake manifold. This makes it super easy to drain as you can easy fit your hand in that giant space above the cross bar. I'll probably add another hose coming out of the drain valve so I can route it out the side of the car for even easier draining one day but for now this is more than sufficient.
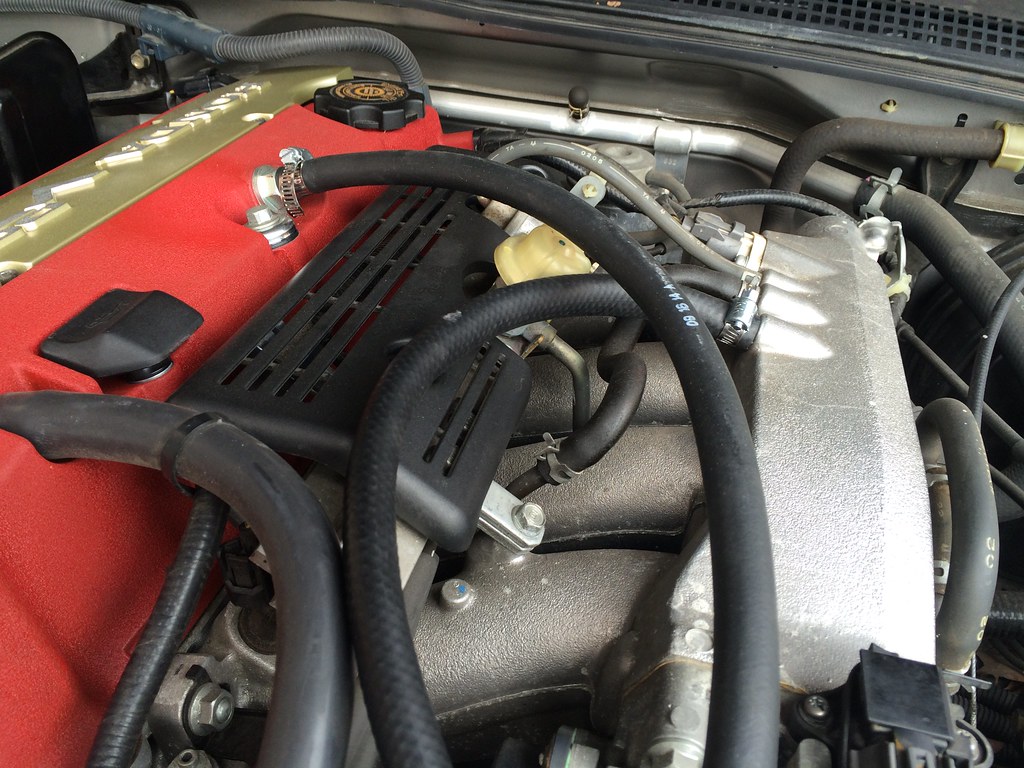 |
| 3/8" fuel hose connecting it all - 7/2/2015 |
 |
| Moroso catch can installed - 7/2/2015 |
While I was in the engine bay I figured I should probably replace the 10 year old serpentine belt. I inspected the old belt after I took it off and it was perfectly fine but when it comes to rubber components, it's probably best to err on the safe side and replace for preventative maintenance.
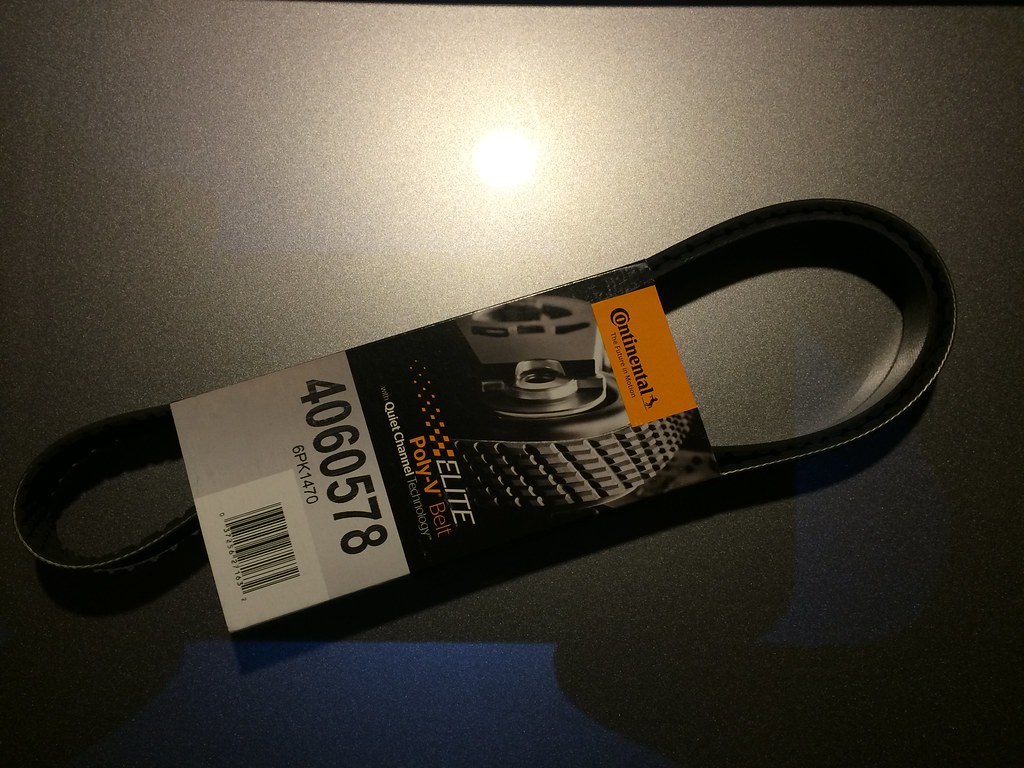 |
| Replacement belt - 7/2/2015 |
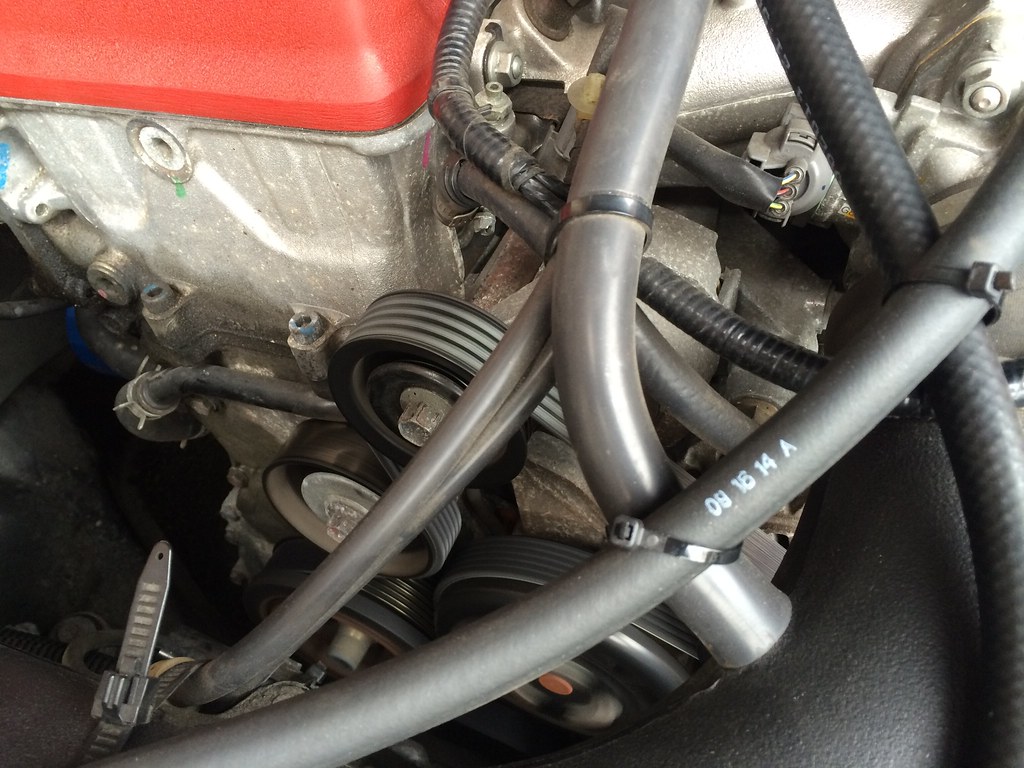 |
| Belt installed and it's nice and tight again - 7/2/2015 |
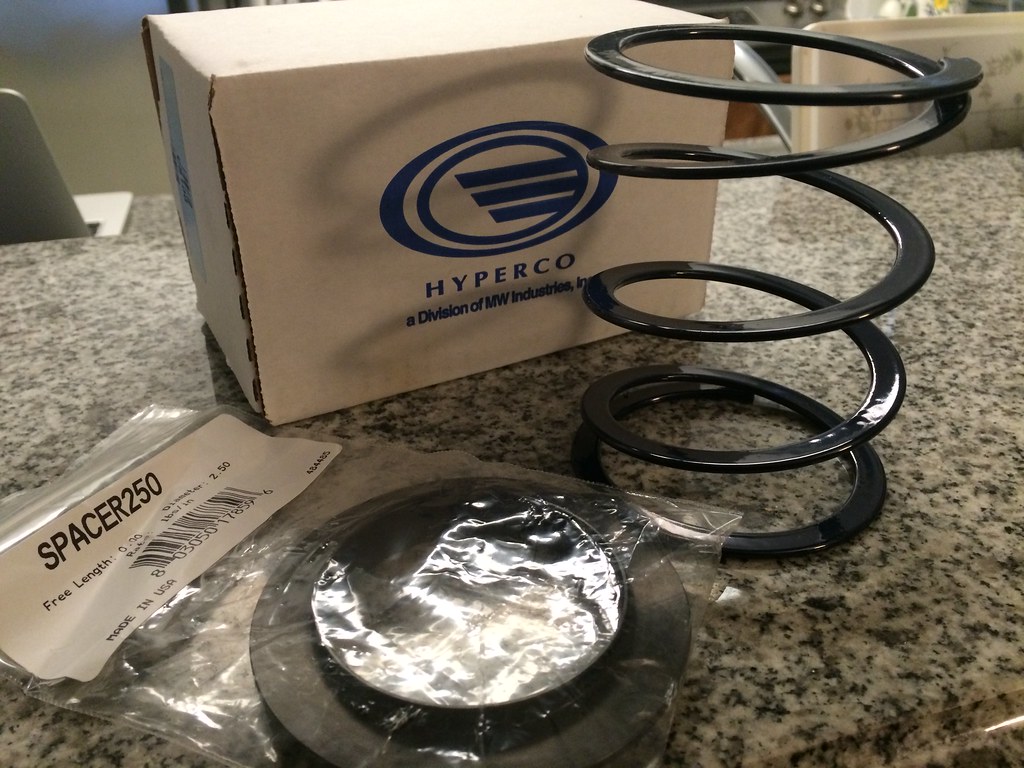
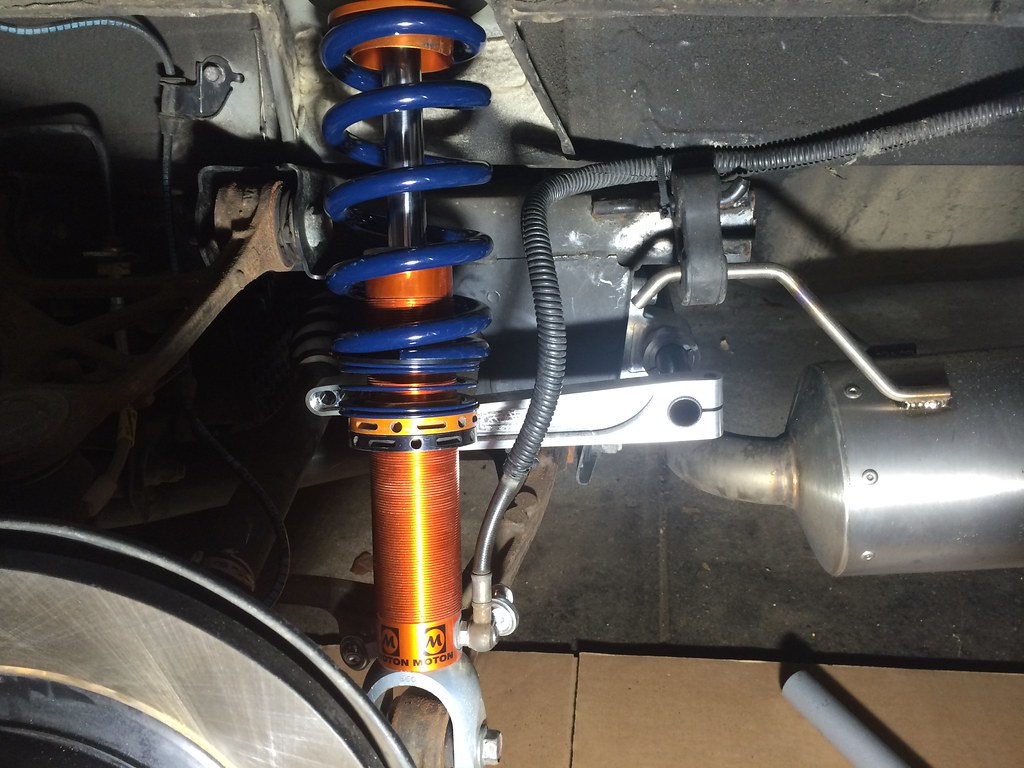
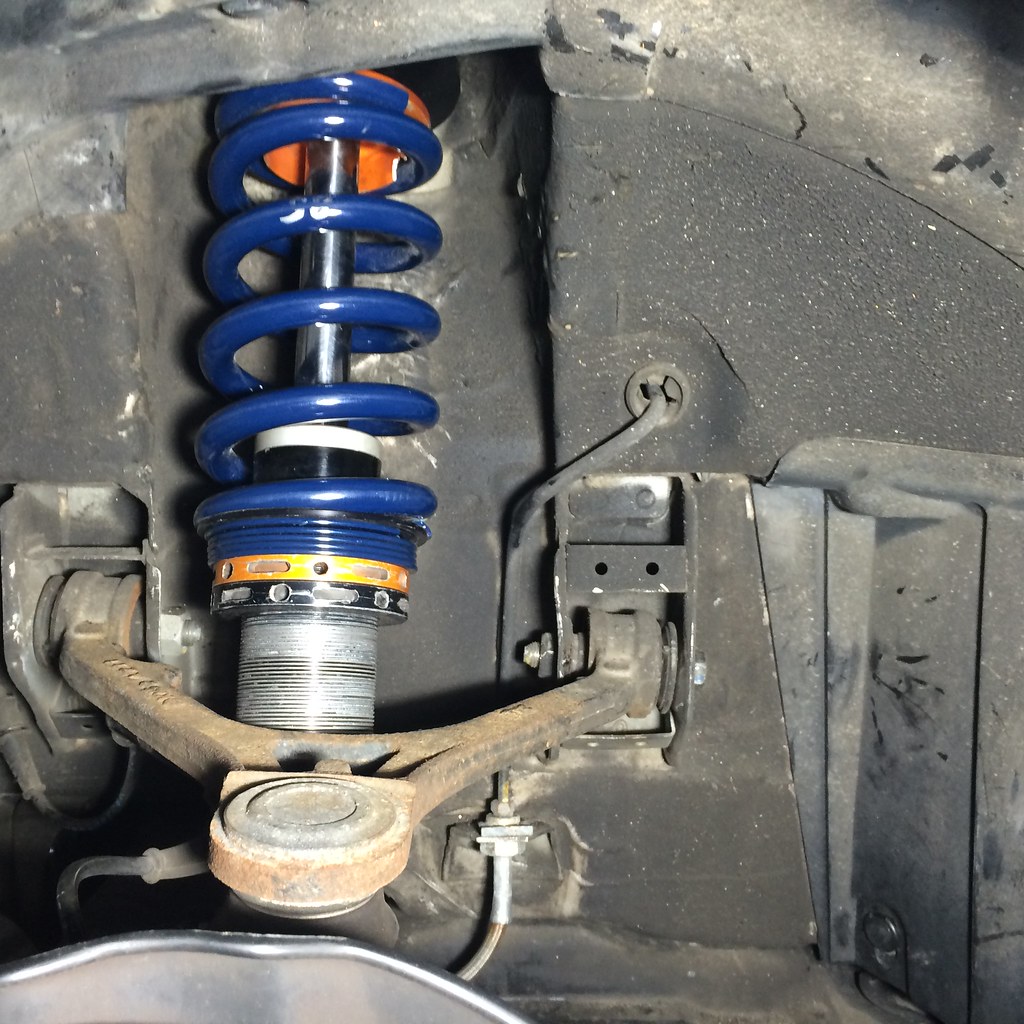
I think that's the last of the engine bay work that needs to be done this year. I may swap out the rear springs again before getting aligned since I think I may have calculated my target spring rates incorrectly but we'll see how it goes.
